Discovering a hole in your beloved knitted sweater or handmade garment can feel frustrating, especially when it’s in the smooth, consistent rows of stockinette stitch. But there’s good news repairing a hole in stockinette stitch is entirely possible and doesn’t require discarding the item. With a little patience and some basic tools, you can mend your knitwear in a way that blends seamlessly with the original fabric. Whether caused by wear, a snag, or even moth damage, the key is to understand the structure of the stockinette stitch and how to replicate it during your repair.
Understanding Stockinette Stitch
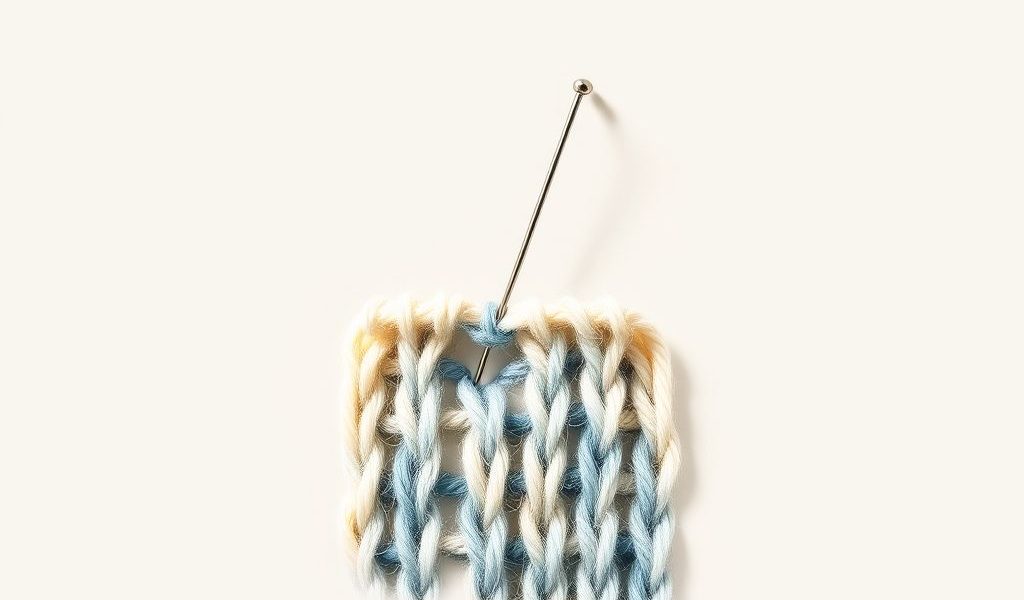
Before you begin repairing, it’s essential to recognize what makes stockinette stitch unique. Stockinette stitch is one of the most common knitting patterns, formed by alternating rows of knit and purl stitches. On the right side, it creates smooth ‘V’-shaped columns, while the wrong side shows horizontal bumps.
Characteristics of Stockinette Stitch
- Smooth and stretchy texture
- Right side shows vertical V’s
- Wrong side shows horizontal purls
- Tends to curl at the edges if not blocked or bordered
When a hole forms in stockinette, it disrupts the visual continuity of these V shapes. A successful repair requires not only closing the gap but also re-creating the appearance of those vertical columns.
Tools You’ll Need to Repair a Hole
Gather your materials before you start. Having the right tools will make your repair neater and easier to execute.
- Darning needle or tapestry needle
- Matching yarn (same fiber and weight as original)
- Small crochet hook (optional, for picking up dropped stitches)
- Scissors
- Darning mushroom or small bowl (optional for support)
If the hole is large or involves unraveling stitches, it’s also helpful to have some stitch markers or pins to secure loose threads while you work.
Assess the Damage
Before diving in, examine the hole carefully. Is it a small puncture, a larger tear, or a section where stitches have run? Check for any live stitches (loops that are not secured and may continue to unravel). If you find any, place a stitch marker, safety pin, or small scrap of yarn through the loops to prevent further damage.
Types of Holes You May Encounter
- Small hole: Just a few missing threads, often due to a snag
- Dropped stitch: A column of stitches has unraveled vertically
- Larger tear: Multiple rows or columns are missing, or the yarn has broken
Identifying the type of hole helps you determine whether a simple weave or a full duplicate stitch repair is required.
Method 1: Weaving a Small Hole Closed
For tiny holes with intact surrounding stitches, a simple woven repair can be nearly invisible and doesn’t require complex reconstruction. This method works best when the yarn is only slightly frayed or there’s a small puncture.
Steps:
- Thread your darning needle with matching yarn.
- Anchor the yarn a few stitches away from the hole on the wrong side of the fabric.
- Begin weaving horizontally across the hole, going under and over the stitches as if mimicking the purl bumps.
- Then weave vertically, following the columns of V stitches. Try to replicate the structure of the surrounding fabric.
- Secure the yarn by weaving it into existing stitches and trim the excess.
With a bit of tension control, the woven yarn will blend into the background, reinforcing the area and closing the hole.
Method 2: Duplicate Stitch Repair
If the hole has distorted or missing stitches in a visible area, duplicate stitching is a more aesthetic solution. This method involves re-creating each individual knit stitch over the gap, so it looks identical to the original stockinette structure.
Steps:
- Identify the rows above and below the hole. Count the stitches lost and try to visualize the missing V’s.
- With your matching yarn, thread a darning needle and start one or two rows below the hole to anchor the yarn.
- Use the needle to trace the path of a knit stitch. Each duplicate stitch should loop under the two legs of the V from the row below and then back through the center, mimicking a real knit stitch.
- Work row by row until you have reconstructed the hole area.
- Weave in the yarn tail securely on the wrong side.
This technique requires a bit more patience but yields a much more seamless finish. From the front, the repair is almost invisible, especially when the yarn color and tension match perfectly.
Method 3: Patch with Knit-In Replacement
In cases where the damage is extensive say, a large hole or frayed yarn that can’t be rewoven you can knit a small swatch and graft it into the affected area. This is similar to replacing a damaged tile in a floor.
Steps:
- Knit a swatch in stockinette stitch using matching yarn, slightly larger than the hole.
- Cut away the damaged section carefully and pick up the live stitches surrounding the hole with double-pointed needles or a circular needle.
- Position your replacement patch behind or in place of the hole.
- Graft the patch using Kitchener stitch or mattress stitch to blend the edges.
- Secure the patch on the inside with duplicate stitch or by weaving in ends.
This method is effective for heavily damaged items and preserves the structure while restoring the fabric’s integrity.
Finishing Touches
Once your repair is complete, gently steam or block the area to relax the stitches and help the new yarn blend into the old. Be careful not to overheat if the garment is made from delicate fibers like wool or alpaca.
Additional Tips
- Try to use yarn from the same project if you have leftovers it matches better than new skeins.
- Practice the repair technique on a swatch if you’re new to duplicate stitch or grafting.
- Use a magnifying glass or good lighting for detailed work.
Regular inspection and early repairs can extend the life of your knitwear dramatically. Small holes can become large ones if ignored, so it’s best to fix them promptly.
Why Repairing Matters
Repairing knitwear aligns with sustainable living and shows appreciation for handmade or high-quality garments. A repaired sweater tells a story it’s a testament to care, craftsmanship, and a commitment to reducing textile waste. Stockinette stitch, while smooth and uniform, is relatively forgiving when it comes to repairs, especially when done thoughtfully.
By learning how to repair a hole in stockinette stitch, you not only bring new life to your favorite clothing but also develop useful skills that can be applied to future knitting and mending projects. With every stitch, you contribute to a culture that values repair over replacement, and that makes your work truly meaningful.