Creating a Jelly Roll Pinwheel Quilt Pattern is one of the most satisfying and colorful ways to bring charm and character into your sewing projects. Jelly rolls those neatly rolled bundles of pre-cut fabric strips are not only fun to work with but also eliminate much of the prep work involved in quilting. When combined with the timeless pinwheel design, they produce a quilt that is both dynamic and visually appealing. Whether you’re a seasoned quilter or just starting out, making a jelly roll pinwheel quilt can be a joyful experience from beginning to end.
What is a Jelly Roll?
Before diving into the pinwheel pattern, it’s important to understand what a jelly roll is. A jelly roll consists of pre-cut strips of fabric, typically 2.5 inches wide and about 42 inches long. These rolls usually include around 40 strips and are a convenient way to get a mix of coordinating fabrics without having to cut them yourself. They are especially popular in quilting because they save time and offer cohesive designs from the same fabric collection.
Why Choose a Pinwheel Pattern?
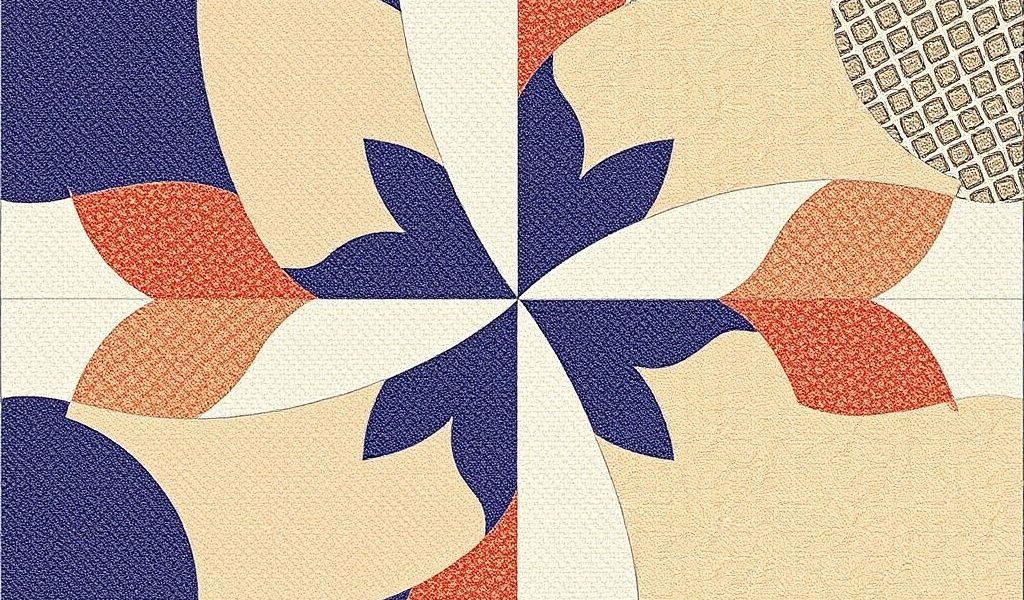
The pinwheel quilt pattern is a traditional and popular design that never goes out of style. Made from half-square triangles (HSTs), the pinwheel creates a spinning effect that adds motion and liveliness to the quilt. When paired with jelly roll strips, the contrasting colors and prints can enhance the pattern even more, making each block pop with personality.
Materials You’ll Need
To make a jelly roll pinwheel quilt, you’ll need the following supplies:
- 1 jelly roll (40 strips of 2.5 wide fabric)
- Background fabric (approximately 2-3 yards depending on quilt size)
- Rotary cutter and mat
- Quilting ruler
- Sewing machine with a ¼ foot
- Thread matching or coordinating with your fabric
- Iron and ironing board
- Batting and backing fabric (amount depends on quilt size)
- Quilt binding material
Preparing the Fabric
Start by unrolling your jelly roll and choosing the strips you want to use. Pair them by color or contrast to give your pinwheels a defined and bold appearance. Then, sub-cut the strips into segments that can be pieced into squares. You will also cut your background fabric into matching squares to complete the half-square triangle units.
Cutting the Squares
Each pinwheel block requires four HSTs. To make these, cut your jelly roll segments and background fabric into 5-inch squares. This size allows for trimming and provides a clean final block. You will need two squares (one from the jelly roll and one from the background fabric) to make each HST pair.
Making Half-Square Triangles (HSTs)
To construct your HSTs, follow these steps:
- Place a jelly roll square and a background square right sides together.
- Draw a diagonal line from corner to corner on the back of the lighter square.
- Sew a ¼ seam on each side of the line.
- Cut along the drawn line to yield two triangle units.
- Open, press the seams toward the darker fabric, and trim to uniform size (typically 4.5 squares).
Repeat this process until you have the number of HSTs needed for your desired quilt size. Four HSTs will create one pinwheel block, so plan accordingly.
Assembling the Pinwheel Blocks
Once you’ve made your HSTs, it’s time to arrange them into pinwheel shapes. Lay out four HSTs so that the colors form a spinning pinwheel shape. Ensure all triangle tips are aligned in the center to achieve a balanced block.
Sewing the Blocks
- Sew two HSTs together to form the top half of the block.
- Do the same with the bottom two HSTs.
- Then sew the two rows together to complete the block.
Press the seams as flat as possible, ideally nesting them to reduce bulk. Your pinwheel block is now ready. Repeat until you have enough blocks for your full quilt layout.
Planning the Quilt Layout
Once your blocks are complete, decide how you want to arrange them. Pinwheels look great in straight rows, but they can also be rotated or placed in alternating patterns to add variety. Use a design wall or large floor space to lay out your quilt before sewing the rows together.
Quilt Assembly
- Sew the pinwheel blocks into rows.
- Then sew the rows together to complete the quilt top.
- Press seams open or to one side as preferred.
Adding Borders (Optional)
If you’d like your quilt to be larger or to frame the pinwheel design, you can add borders using coordinating fabrics. Cut strips to your desired width (usually 2.5 to 6 inches) and sew them to the edges of the quilt top, starting with the sides and finishing with the top and bottom.
Quilting and Finishing
Layer your quilt top with batting and backing. Baste the layers together using safety pins or a temporary adhesive. Then, quilt through all layers by hand or machine. For a beginner-friendly option, consider straight-line quilting that echoes the pinwheel shapes. Once quilting is complete, trim the edges and bind the quilt using a fabric of your choice.
Tips for Success
- Choose high-contrast fabric pairs to make the pinwheel shapes stand out.
- Always press seams carefully to keep your blocks flat and even.
- Use a consistent ¼ seam allowance for all piecing.
- Take your time trimming HSTs to ensure uniformity across all blocks.
The jelly roll pinwheel quilt pattern is a fantastic project that combines simplicity with striking results. By using pre-cut fabric strips and a classic design, even beginners can achieve a stunning quilt. The rotating pinwheels bring energy and visual interest, while the cohesive colors of the jelly roll add harmony to the finished piece. With a bit of patience and creativity, you can create a quilt that’s perfect for gifting, decorating, or snuggling under on cozy nights. Dive into your jelly roll stash and start stitching your beautiful pinwheel masterpiece awaits!